Inglot Dundrum Masterclass with Nikita.
10:38:00Hi All,
So here I am again at another Inglot masterclass, this was my first however in Dundrum and my first time seeing MUA Nikita. I have been to Dundrum Inglot once before to get my makeup done with my two teds Sinead and Elaine you can read all about it here:
http://emmajcsheehan.blogspot.ie/2013/10/inglot-dundrum-three-teds-day-out.html
I know I write an awful lot about Inglot and to be fair they're probably one of the best companies you will see around but I am soon going to do a product list post on all the things I love from Inglot but what I also used to create the same looks, please don't feel you can't create these looks because you don't have the actual Inglot products, I write these posts as much as a lesson plan as the brand I love so much :)
Tonight's masterclass in Dundrum was slightly different to others I had attended before, in this class we were given a little goody bag at the end which included the fab gold glitter nail varnish (which I actually bought already so I will be adding this to my 1500 like bundle) a makeup lesson voucher while I shall certainly be using and then two testers of the primer, which has been great for me to try out and now love love love!!
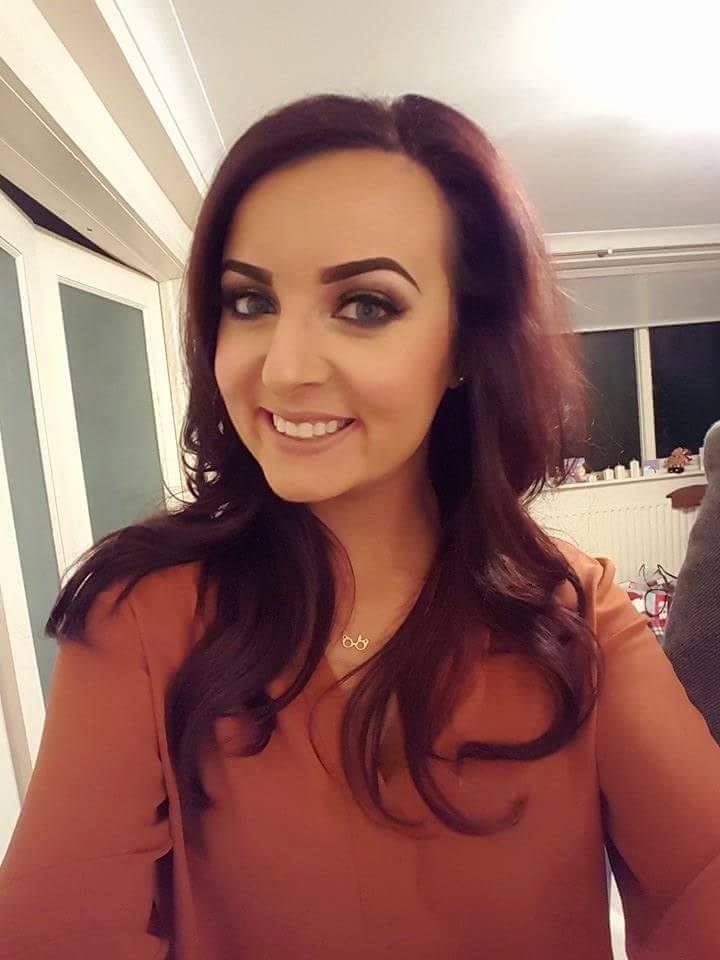
Onto the masterclass: The look for tonight was a beautiful smokey purple and gold look with a cut crease. I was very interested to see how to do a cut crease as I have not mastered this at all. It does take a lot of work so do be prepared to practice this a lot!

Again with most dramatic eye looks, you are better to start off with working on the eyes first.
Eye Shadows:
Apply a base to the eye lids, you can purchase one in Inglot for €10.
You then highlight the brow bone with a matte white colour and a flat brush.
Taking the 6SS brush (fab blending brush) place a light pink into the crease and blend up towards the brow bone, not going over the white.
Again with the 6SS taking the purple colour (this is quite dark) work some into your hand first, and place this into the crease and work it slightly above the crease.
Using a smaller brush (a lip brush) take the black colour and place into the crease. A tip for doing this on someone else is to get the client to keep their eyes open and look straight ahead. If this is your first time trying this, Nikita suggested using a brown colour instead of black as it is easier to work with. Start on the crease, use small movements to work towards the inner eye. When you are close to the inner corner, straighten the line towards the bridge of the nose, not down towards the tear duct.
Taking a small fluffy brush (10S) and using the purple again, blend out the black shadow. You want to use back and forth movements for this and not in circular motions as this will spread the purple which is not what you want.
Once the harsh black line has started to buff out, you work upwards slightly.
Taking back the 6SS brush and the pink colour, blend out the purple above the crease.
Because the black is quite dark still at this point, add in a brown alone the crease to soften the black more. Only go slightly above the black with a 10S brush.
Now taking a CLEAN 6SS brush, blend out again.
*Ladies you can see from the description, you are using a lot of colours and a lot of brushes, but don't panic this is an amazing look and if you use a little bit of product each step you'll soon see it all develop beautifully*
Add more of the white matte to finish your shadows and blend out one final time.
Eye Liner:
Just a note gel liner can be difficult to place over pigment so this is why Nikita took this step next, you can go back over the liner if needed. You can use either an angled brush or a thin liner brush for this whichever you find easier.
Create your flick first, this can be as dramatic as you like, line your top lash line and then your bottom waterline making sure to join in all gaps. (I have written a post liner previous to this so I will post that again, this absolutely takes time and practice so don't worry it you need to work on this.)
Pigment:
Pigment as you can imagine is a loose product so you will need to help it set onto the eye, you can do this using a small amount of the DUO Glue, the eye shadow base or even some Duraline depending on what you have. Nikita used a 32T brush and the eye shadow base tonight and applied a thin layer of this all over lid where you want the pigment to go. Using the same 32T brush, press the pigment onto the lid slowly.
*If you need to add more liner, apply it now with your thin brush, also check your shadows again if you need to define the crease more.*
Because you applied all your makeup first, you can use a cotton swab with cleanser, a face wipe or concealer to clean under your flick and beneath your eyes also.
Face:
Nikita used YSM 51 on Brefine, this is for more tanned skin and perfect for heading out with. She didnt place foundation under the eyes but instead used the Inglot Under Eye Concealer 92. She applied this using the 4SS blending brush and this brightened the eye area. When you are blending out the concealers, run it along where you want to add your powder highlight also.
Nikita then took no.14 loose powder and the 1S brush and applied this to the face.
Next she took the pressed powder no.17 and contoured along the hollow of the cheek, and onto the jawbones, she lightly applied the bronzer onto the side of the nose. This powder can have fall off so tap your product into a tissue before applying on the face. Use back and forward motions to contour the jawbone.
Using a 4SS brush and the 65 face and body illuminator as the hightlighter, Nikita blended onto the top of the cheekbones, down the side of the mouth and in between the brows.
Shadow on under eye:
You follow the same pattern as you have on the top of your eye.
Black-
Purple- Place each of these colour along the lash line, clear off excess with a cotton bud and blend out.
Pink-
Brows:
Before applying any product to your brows, firstly brush them out with a clean mascara wand, this gets rid of any excess product on the brows. Then using an angled brush and a brown shadow fill in the brows.
Lashes:
For dramatic looks use duo glue in black so you don't have to worry about white marks from the glue on the black liner.
*Another tip: Ask your client to look down at their knees when applying lashes so they are distracted but you can make sure they are applied right. Remember to press the false lashes down to sit on the natural lashes.
Lips:
Nikita created an ombre looking lip for this look. Firstly she used to kohl liners one plum and one black. she lined the entire edge of the lips in the plum colour, leaving the middle bare. She then added the black kohl pencil to the outer corner and blended the two colours together with a lip wand, you can use your fingers for yourself.
Finally she added the lipstick shade 175 onto the lip and the fab look was complete!!


1 comments
when you will check the color palette of inglot you will not bee able to resist yourself buying their products despite of high prices but for quality it justify as well
ReplyDelete