
Brushes Made Easy
23:11:00Happy Christmas ladies!!
Really hope you've all had a wonderful time over the last few days and got spoiled rotten, I know I did!!
Christmas is a great time to gift or get new brushes! This is brilliant because as I've said in so many of my posts before, brushes really are the key to perfecting a good makeup look, no point owning all the latest and expensive products if you can't apply them properly.
For today's post I'm going to show you brushes I use each and every day and hopefully help you figure out what your own brushes can be used for. Of course if there is any brush I don't mention and you have, feel free to mail me on the blogs Facebook page or email emmajosephinesheehan@gmail.com.
The first brush I use is my Real Techniques Expert Face Brush I bought on Cloud 10 beauty. This is my favourite brush as I feel it suits all kinds of foundation. Whether I use a liquid foundation such as MAC Face and Body or Urban Decay Naked foundation, it is a great brush for buffing. I also feel it works really well with thicker foundations such as Estee Lauder Double Wear or MAC Studio Fix.

Other foundation brushes I like are duo fiber brushes like this MAC one I got a couple of years ago. I like to use the duo fiber brush with a thicker foundation and use circular motions. I like to sometimes use a flat foundation brush again for thicker foundations but if you do use it with a lighter foundation, you can then buff it out with another brush.
Concealer: I do own a small benefit concealer brush but I find whether a camouflage cream or liquid concealer for under my eye, I use my ring finger to dab it on instead.

Powder: A powder brush should be big, fluffy and always clean. If you are setting your face then use a dabbing motion to set the powder onto your face. At times I think we are all guilty of swishing too much powder onto our face and the same with bronzer. This is not necessary, I usually use my real techniques powder brush or my Lydia brush from The Makeup Crew.


Contour: This brush is a designated real techniques contour brush but I also like to use an angled blush brush. This can help when applying to the hollow of the cheek as you want to keep as tidy a line as possible.


Highlight: This is a small foundation brush and small setting brush again from real techniques. As you are highlighting a small area, you only need a small brush. You need to remember that the bigger the brush you use, the more likely you are to use too much product so always start with less than you need and build it up.


Blush: This is a blush brush from Artdeco, I like it as it is small enough to just cover the apples of my cheeks which is the best place it. Unlike my usual love for real techniques, this blush brush is much too big for me so I use this as a blending brush for my contour if needed.


Brows: This small brush comes with the HD brow kit, I also like to use an angled liner brush to really define the lines in my brows especially on a night out.


Eyes: There are so many brushes you can use on your eyes to create many different looks so for the purpose of this post, I chose what I usually use in a day time look consisting of 2-3 shadow colours.
Liner- I always use an angled liner brush to apply my gel liner. It gives you a clean liner and if you are only getting used to gel liner, get a shorter handle, that way you have more control. When you get brave, you can try a thicker liner brush and make some beautiful cat eyes.

Lid- A flat shadow brush is the best to use on your lid. It will help if there are loose pigments and also if you are using glitter and duraline, you can dab the colour onto your lid. These come in a number of sizes but generally this is the flat brush I would choose.

Crease- I am in love with my blending brush from Fuschia. I got it in a sale and it is absolutely my go to brush. It is so fluffy, it blends into the crease beautifully creating a very natural transition of colour. Always with your blending brush be sure it's clean, fluffy and always use circle motions and a little product.

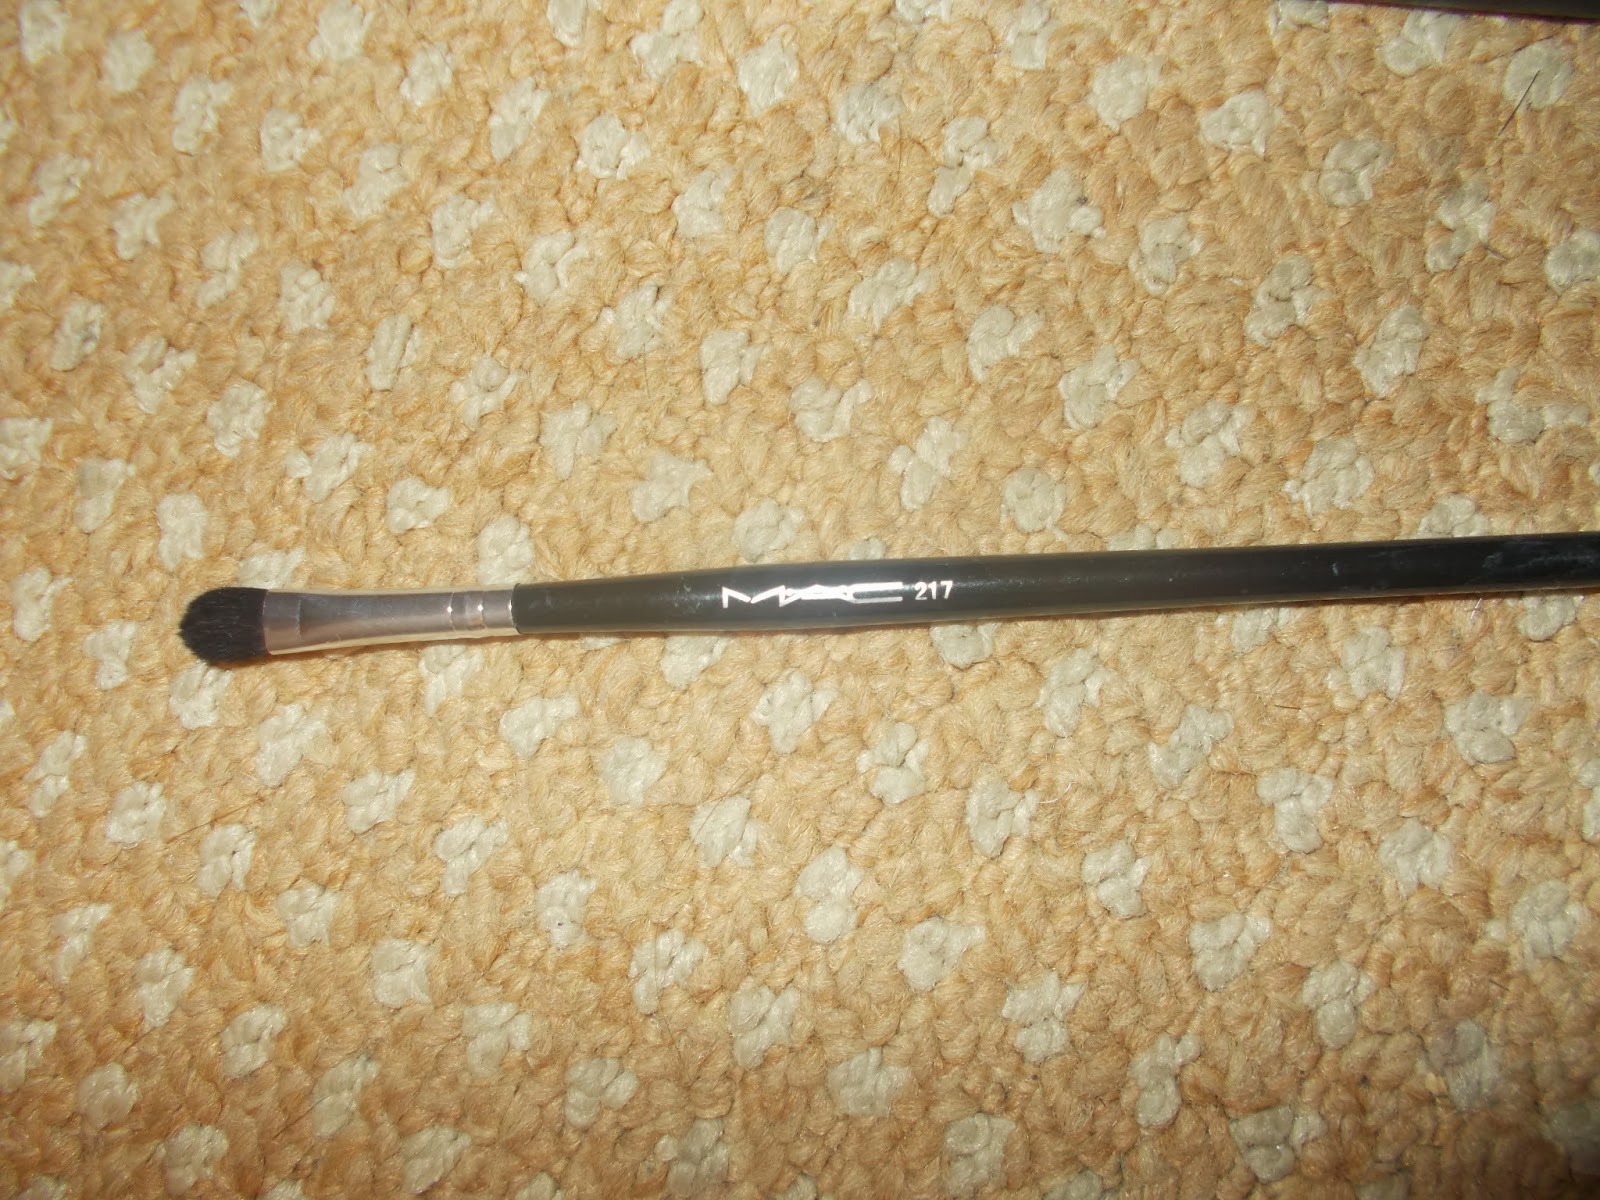
Edge- This is a real techniques brush here which I like to use on the outer corner of my eye when applying the darkest colour. Again it's light but this time has a pointed top on it so it works perfectly into the crease in my eye.

Lips: A good lip brush will not cost you a fortune, you can use any small brush you like really, it's to help define your cupids bow. When you use lippy regardless of the brand the point at the top will wear down so using a lip brush along with your bullet as it's called will define your lips and you can also increase the look of them with a sharp lip pencil and lip brush.

Ladies that is the run down of my 'go to' brushes. If there is any other info you would like on brushes or any more questions please feel free to contact me.

Facebook: https://www.facebook.com/emmajcsheehanblog
Twitter: @emmajcsheehan
Instagram: emmalvsapose
Stay beautiful,
Emma x


2 comments
Hmmm the setting brush for highlighting... I actually never thought of that, and had been using my Eco Tools Blush brush. Smaller is better, you say? I may have to splash out so!!
ReplyDeleteGreat post!!
http://red-lips-red-hair.blogspot.ie/
Skincare is always important!! Check out our page for our #facialbrush that will satisfy your skincare needs!!. Buy Now at santamedical.com
ReplyDeleteGurin Facial Brush