
Step by Step Contouring & Highlighting With Little Old Me!
19:45:00Hey All,
So here we are a requested post on how to contour and highlight. I think it's interesting that when a look is nominated to be blogged about, I found it so so hard to do this without a video camera so who knows Youtube could be calling me :) :)
I am trying to keep this as step by step as possible but if there is anything you want to ask me about please feel free to contact me through Facebook HERE
So here we go a step by step to a basic contour and highlight! Remember it is always better to start with a little product and build it up, it's extremely hard to right a wrong such as too much so build it onto the face rather than lash it on ;)


Next up was to set the foundation with some powder. As I said above, the foundation is close to the Double Wear but I do find it much oilier so I prefer to use this Rimmel Stay Matte powder to set it and using my Bare Minerals Powder Brush, I can be sure it is on properly. I dip the brush into the powder, tap off the excess and then I pat the powder onto my skin. If you are someone who likes to sweep powder onto the face, be sure to apply it in a downward motion, you want to go with those baby hairs we have on our skin as going against them can make them look ore obvious.

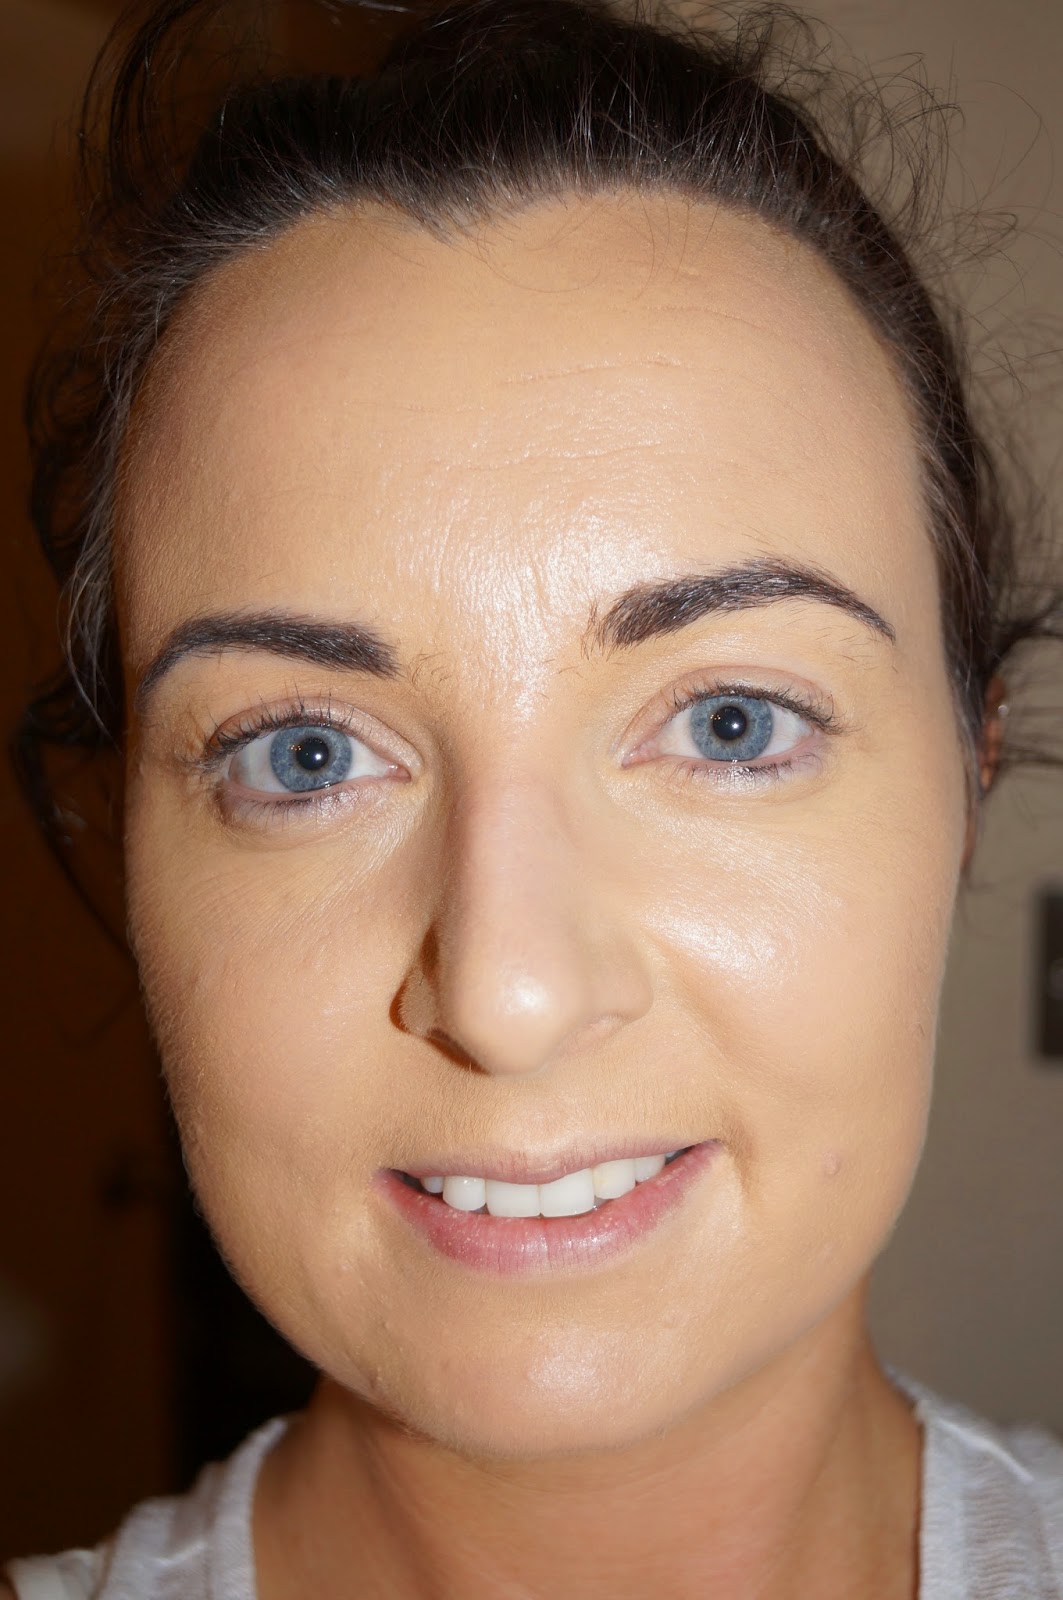
With the contour you first want to learn the shape of your face, we don't all need to contour the same areas but for me I have a square face (Simon Cowell) so I need to contour the hollow of my cheeks and my forehead, sometimes I'll give a little rub of what's left on the brush along my jaw line but mostly the other areas. I take a tiny amount of contour and as I approach my face, I will start moving the brush in an 'over and back' motion so it's meets my face moving and this will help with not having a blob of dark powder on the skin. You really do want to take it a little at a time and build very slowly with a dark powder.
For highlight, I am slightly more relaxed. When I go out for instance I love a good highlight and I like it to be seen. I have recently bought the MAC Soft and Gentle highlighter and between that and the No.2 sparkle dust from Inglot they are my absolute faves for heading out and really seeing that lighter line. For this softer day look, I dab the brush into the powder and working on my cheekbone (at the top) I apply the highlighter in a 'C' shape from the outer corner above my brow to the cheekbone, stopping just under the middle of my eye. Now be careful with highlighter, as you make the 'C' shape, you don't need to apply the highlighter under the eye directly, stay focused on the cheekbone and you won't go too far wrong. If you need to, take your finger and feel out the top of your cheekbone and only apply the highlighter to there.


With flash and without of contour & highlight


Blusher is one of the nicest things to apply to the skin. I have had this MAC Stereo Rose for about a year now and it's beautiful. It gives the skin a lovely orange glow and really brightens up any look. I like how you can build it up for a night out without too much effort. I applied this blusher with another Coastal Scents brush. The bristles are soft and they apply a product really well. I think for blusher it's important to have a soft brush and again, start soft and apply more if you need it. Put on your best cheesey grin and apply softly to the apples of the cheeks and brush outwards to the upper ear.

Just a couple of silly poses for the finish

I hope you found this post some way helpful and if you would like to request any more looks from me then please send all suggestions and I will try my best to recreate what you have asked for :)

Emma x


2 comments
Great tutorial! I'm still try to perfect the contouring and highlighting haha practice makes perfect right? Thanks for this :)
ReplyDeleteNatalie♥
Yours Truly, NY
Absolutely you just need to take your time with it nice and easy and just add a little at a time x
Delete